Reviewed and tested by the DevX Tech Team — a group of Android specialists who regularly transfer, sync, and manage contacts across Samsung Galaxy S25, Google Pixel 9, OnePlus 13, and Motorola Edge devices running Android 15 and Android 14. We’ve verified every method in this guide — including Google account sync, vCard (.VCF) export/import, Samsung Smart Switch, Huawei Phone Clone, Xiaomi Mi Mover, and manual Bluetooth sharing — using real contact lists of 500+ entries across carrier and unlocked phones. Last updated March 2026.
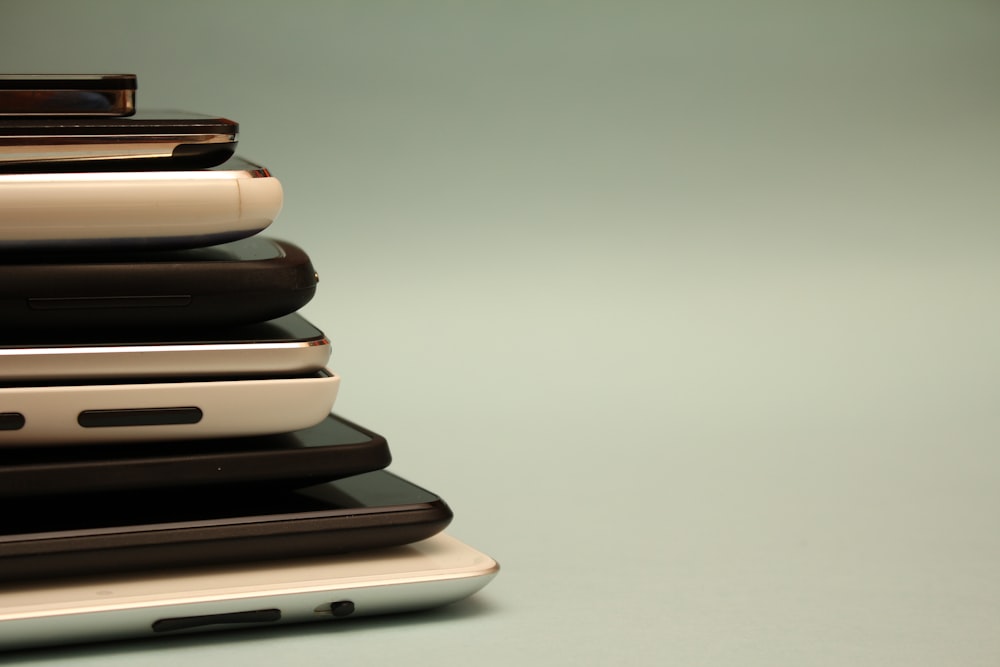
Switching to a new phone can be an exhilarating experience. But if you’re moving from one Android device to another, you’ll want to ensure that you don’t leave behind any essential data, particularly your contacts. Understanding how to transfer contacts from Android to Android is crucial. This guide will elucidate two main methods for accomplishing this task.
Leveraging Google Account for Contact Transfer
Transferring contacts from one Android device to another can seem daunting, but leveraging your Google account simplifies this process significantly. This method is highly efficient, secure, and ensures that your contacts are accessible across various devices. Before starting, ensure that both your Android devices have an active internet connection, as this is crucial for syncing and transferring contacts.
Step-by-step Process: Syncing and Transferring Contacts
1. Syncing Contacts to Your Google Account
Firstly, let’s focus on syncing your existing contacts to your Google account from your old Android device. Follow these detailed steps:
- Open the Settings App: This is usually found in your app drawer or home screen.
- Navigate to Accounts: Scroll down until you find the “Accounts” section. This may also be labeled as “Users & accounts” in some devices.
- Select Your Google Account: If you have multiple accounts, choose the one you use primarily for your contacts.
- Tap on ‘Account sync’ or ‘Sync account’: This will show you different data types you can sync.
- Enable the Contacts Option: Ensure the toggle next to “Contacts” is turned on. This action allows your contacts to be uploaded and saved to your Google account.
Remember, if you’re syncing for the first time or have a large number of contacts, this might take some time. Ensure your device is connected to Wi-Fi to avoid data charges and speed up the process.
2. Transferring Contacts to Your New Device
After syncing your contacts with your old device, it’s time to transfer them to your new Android:
- Sign in to Your Google Account on Your New Device: During the initial setup, you’ll be asked to sign in. Use the same Google account you used on your old device.
- Wait for the Sync to Complete: Your contacts should start appearing on your new device as the synchronization completes. This process is automatic and should start as soon as you log into your Google account.
Additional Tips and Troubleshooting
- Check Sync Settings: If your contacts don’t appear immediately, go to the “Accounts” section in your new device’s settings and ensure the sync is active for contacts.
- Internet Connection: A stable internet connection is crucial. If you’re experiencing delays, check your Wi-Fi or data connection.
- Google Contacts App: Consider downloading the Google Contacts app from the Google Play Store. It offers a more direct view and management options for your contacts synced with your Google account.
- Manual Sync: If automatic sync doesn’t work, you can manually sync your contacts. Go to “Settings” > “Accounts” > Google account > “Account sync” and tap on “Sync now” next to contacts.
- Data Usage: Be mindful of data usage if you’re not connected to Wi-Fi. Syncing a large number of contacts might consume significant data.
By following these steps, you can effortlessly transfer your contacts from one Android device to another using your Google account. This method not only ensures that your contacts are transferred securely but also keeps them synced across all your devices. Remember, keeping your contacts in Google’s cloud provides an added layer of backup, safeguarding them against loss or device damage.
Using vCard for Transferring Contacts

Transferring contacts using vCards, also known as .VCF files, is a preferred method for those who are cautious about storing their personal data in the cloud. A vCard is a standard file format for storing contact information, and it can be used to share contact details between devices without the need for internet connectivity.
Creating a vCard on Your Old Android Device
The process begins on your old Android phone, where you will create a vCard containing all your contacts. Here’s how you can do it:
- Start by opening the Contacts app on your phone. This app is where all your contact information is stored and managed.
- Look for the three-dot menu icon, usually located in the top-right corner of the screen, and tap on it. From the dropdown menu, select the option to ‘Select all’; this action selects all the contacts in your list.
- After selecting all contacts, look for the sharing icon – this could resemble a connected dot, a paper airplane, or something similar. Tapping this icon initiates the process of compiling your contacts into a single .VCF file.
- Once the file is ready, you’ll have to decide how to transfer it. Sending the .VCF file to yourself via email is a commonly recommended method. This way, the file is easily accessible from any device, provided you have access to your email account.
Importing vCard Contacts to Your New Android Device
After the vCard file has been created and sent, the next step involves importing this file into your new Android device:
- On your new device, navigate to your email app or where you’ve saved the vCard file. Download the file to your device.
- Next, locate the downloaded .VCF file using your phone’s file management app (like Files or Files by Google).
- Opening the .VCF file should prompt a question asking if you want to import the contacts. Confirm the action, and the contacts will start importing into your new phone’s contact list.
Additional Tips for a Smooth Transfer
- Choosing the Right Location: When sending the vCard, consider your accessibility and convenience. Email is recommended for its universality and ease of access.
- Reviewing Contacts Post-Transfer: After the transfer, take a moment to review your new device’s contact list to ensure all expected contacts are present and correctly imported.
- Handling Multiple vCards: If for some reason your contacts are split into multiple vCards, you might need to repeat the import process for each file.
Using a vCard for your contact transfer is an effective offline method that provides a tangible backup in the form of a .VCF file. This method is particularly useful if you prefer to keep your contact information out of the cloud for privacy reasons. Moreover, it allows for a relatively straightforward transfer process, free from the constraints of internet connectivity and cloud accounts.
Alternative Methods: Device-Specific Apps
In addition to the universal methods of transferring contacts via Google accounts or vCards, device-specific apps provide another layer of convenience and efficiency in transferring contacts. These applications are tailor-made by manufacturers to fit the specific needs and functionalities of their devices, ensuring a smoother transition from one device to another.
Samsung Smart Switch
For those moving to a new Samsung device, the Samsung Smart Switch app is an invaluable tool. This application is designed to streamline the process of transferring data, including contacts, from your old device to your new Samsung smartphone. Here’s how it stands out:
- Versatile Transfer Options: Smart Switch offers various methods for transferring data. You can choose between device-to-device transfers using Wi-Fi or USB cables. This flexibility ensures that you can transfer data regardless of your current setup or available accessories.
- PC and Mac Support: For users who prefer managing their data through a computer, Smart Switch provides options to transfer data from a PC or Mac to your new Android device. This method is particularly useful for large transfers or when moving data from a completely different operating system.
- User-Friendly Interface: The app is designed with user convenience in mind. It guides you through the transfer process step by step, making it accessible even for those who may not be tech-savvy.
Manufacturer-Specific Applications
Beyond Samsung, other manufacturers like LG, Huawei, and Xiaomi offer their versions of data transfer apps. These apps, such as LG Mobile Switch, Huawei Phone Clone, and Xiaomi Mi Mover, function similarly by facilitating a direct transfer of contacts and other data from your old device to your new one. While each app may have its unique features, they all serve the primary purpose of making the transition to a new device as seamless as possible.
Benefits of Using Device-Specific Apps
- Simplicity: These apps are designed with the end-user in mind, ensuring a straightforward, guided process.
- Speed: Device-specific apps typically offer faster data transfer rates, especially when using direct device-to-device methods.
- Security: Transfers done through these apps are secured, with data directly transferred between devices without storing any information in the cloud.
- Comprehensive Data Transfer: Beyond just contacts, these apps can transfer a wide range of data, including photos, messages, and apps, ensuring you don’t lose important information during the transition.
Final Thoughts
While the Google account and vCard methods are effective for transferring contacts, device-specific apps offer a tailored experience that can simplify and expedite the process. Whether you’re transitioning to a Samsung, LG, Huawei, or Xiaomi device, utilizing the respective manufacturer’s transfer app can provide a seamless and secure way to move your contacts and other data to your new device. Always ensure your devices are adequately charged and follow the app’s instructions for a successful transfer.
Not Just Contacts: Transferring Other Data
When upgrading to a new Android device, transferring contacts is often just the first step. Your old device is likely filled with valuable information such as photos, calendar entries, messages, and music that you’ll want to bring along. Understanding how to transfer these types of data can make your transition to a new phone seamless and stress-free.
Photos and Videos
- Google Photos: Utilizing Google Photos can simplify the transfer of your photos and videos. By syncing your media with Google Photos on your old device, you can access them on any device logged into your Google account.
- Device-Specific Apps: Apps like Samsung Smart Switch and other manufacturer-provided solutions often support the transfer of photos and videos directly from one device to another.
Calendar Entries
- Google Calendar Sync: If you use Google Calendar, syncing your account will automatically transfer all your calendar entries to your new device. Simply log into your Google account and enable calendar sync.
- Manual Export and Import: For non-Google calendars, you can usually export your calendar data as an .ICS file and then import this file into the calendar app on your new device.
Messages
- SMS Backup & Restore: Various third-party apps offer the capability to backup and restore your SMS messages.
- Device-Specific Apps: Manufacturer apps like Smart Switch also provide the option to transfer your messages directly from one phone to another.
Music
- Google Play Music or YouTube Music: If you’ve used Google Play Music or YouTube Music, you can access your music library on any device by logging into your account.
- Manual Transfer: For music files stored directly on your device, you can transfer them via a computer, using a USB cable, or through file-sharing apps.
Tips for a Smooth Data Transfer
- Backup Regularly: Regular backups ensure that your data is always up-to-date and ready to transfer whenever you need it.
- Check Compatibility: Ensure that the data types you wish to transfer are supported by the method or app you choose to use.
- Use Wi-Fi: When using cloud services like Google Photos or Google Calendar for syncing, a Wi-Fi connection can speed up the process and avoid data charges.
- Be Patient: Transfers, especially large ones, can take time. Start the transfer process at a time when you do not need immediate use of either device.
Final Considerations
Knowing how to transfer not just contacts but all your valuable data can significantly ease the transition to a new Android device. Whether you choose to use Google’s sync capabilities, device-specific apps, or manual methods, the key to a successful transfer is preparation and patience. By understanding the tools and processes available, you can ensure that none of your important information is left behind during the move to your new device. Remember, while the initial setup may take time, having all your cherished data on your new phone is worth the effort.
Conclusion
Transitioning from one Android device to another is a milestone in the digital journey that doesn’t have to be fraught with complications. The evolution of technology has simplified what was once a daunting task into a series of straightforward, manageable steps. Whether opting for the cloud’s convenience through your Google account or the tangible control of a vCard file, transferring contacts can now be more straightforward and less time-consuming than ever. This guide is designed to lead you through each step, ensuring your switch is not just successful but also free from unnecessary stress.
However, it’s important to recognize that in our digital age, a phone’s contact list is just the tip of the iceberg. Your device houses not just phone numbers but a plethora of personal data including photographs capturing timeless memories, calendar entries marking significant events, messages filled with important conversations, and music collections that soundtrack your life. The comprehensive transfer of this data is crucial to truly settling into your new device.
Through this guide, we’ve explored not only the methods for transferring contacts but also the tools and techniques for migrating your other valuable data. Embracing cloud services like Google Photos and Google Calendar can make transferring photos and events effortless. Meanwhile, leveraging device-specific applications such as Samsung Smart Switch can streamline the process, making it more intuitive and less cumbersome, especially for those less comfortable with technology.
Yet, beyond the technical how-tos and step-by-step instructions, the transition to a new Android device is an opportunity. It’s a chance to reorganize, to reassess what’s important, and to start fresh while still retaining the essential elements of your digital life. It’s about more than just moving data; it’s about seamlessly transitioning your digital identity to a new home where it can continue to grow and evolve.
Therefore, as you embark on this journey, remember to approach the process with patience and care. Ensure your data is backed up, double-check that nothing vital is left behind, and allow yourself the time to adapt to your new device. The transition period is also an excellent opportunity to explore new features and settings that could enhance your mobile experience.
In conclusion, while the prospect of transferring your contacts and other data to a new Android device might seem daunting, armed with the right knowledge and tools, it can be a painless, even enjoyable process. With this comprehensive guide, you’re well-equipped to migrate your contacts and start enjoying your new Android device without any hitches. Embrace the change, and let the transition be a step forward into a new chapter of your connected life. Here’s to new beginnings, seamless transitions, and the continuous journey of technological convenience at your fingertips.
More Android Transfer Guides From DevX
- How To Transfer Apps From Android To Android
- How To Transfer Photos From Android To Android
- How To Backup Android Phone
- How To Delete Apps On Android
- How To Find Downloads On Android
Frequently Asked Questions
How do I transfer everything from my old Android to my new Android?
- On your old Android, go to “Settings” and select “Google.”
- Tap “Backup.” Make sure “Back up to Google Drive” is on.
- On your new Android, sign in with your Google account.
- During setup, choose “Restore” to transfer data.
How do I sync my contacts to my Android phone?
- Go to “Settings” on your Android phone.
- Tap “Accounts” and select “Google.”
- Choose your account and toggle on “Sync Contacts.”
- Wait for the sync to complete.
Why didn’t my contacts transfer to my new Android phone?
Possible reasons include:
- Not backing up contacts on your old phone.
- Not using the same Google account.
- Syncing is turned off. Check these areas and try again.
How do you transfer contacts from Android to Android without Smart Switch?
- Export contacts from your old phone: Go to “Contacts,” select “Menu,” and choose “Export.”
- Transfer the file to your new phone via Bluetooth, email, or PC.
- On your new phone, go to “Contacts,” select “Menu,” and choose “Import.”
How do I transfer my contacts from my old phone to my new phone?
- On your old phone, back up contacts to Google: Go to “Settings,” then “Accounts,” select “Google,” and sync contacts.
- On your new phone, sign in with the same Google account.
- Enable contact sync to transfer.
How do I transfer contacts from one Samsung phone to another?
- Use Samsung Smart Switch: Download the app on both phones.
- Open the app and select “Send data” on the old phone, “Receive data” on the new one.
- Choose “Wireless” and follow prompts.
Why are my Google contacts not syncing with Android?
Check these:
- Internet connection.
- Google account sync settings.
- Whether “Sync Contacts” is enabled.
- Update Google Contacts app. Troubleshoot these areas and try syncing again.
How do I sync my contacts to my Samsung Android?
- Go to “Settings” on your Samsung Android.
- Tap “Accounts and backup” and select “Accounts.”
- Choose your Google account.
- Toggle on “Sync Contacts” and wait for the sync.
If you need more help, contact your phone’s customer support. They can provide detailed instructions.
Featured Image Credit: Photo by Melinda Gimpel; Unsplash – Thank you!
Related Articles
- How To Transfer Data From Android To Android
- How To Pair AirPods To Android: Bluetooth Setup & Tips (2026)
Johannah Lopez is a versatile professional who seamlessly navigates two worlds. By day, she excels as a SaaS freelance writer, crafting informative and persuasive content for tech companies. By night, she showcases her vibrant personality and customer service skills as a part-time bartender. Johannah's ability to blend her writing expertise with her social finesse makes her a well-rounded and engaging storyteller in any setting.