Transferring files, especially photos, from your Android device to your computer may sound complicated, but it can be surprisingly simple. In this detailed guide, we’ll walk you through five different methods on how to transfer photos from Android to computer, all of which are reliable and straightforward.
Direct Transfer via USB
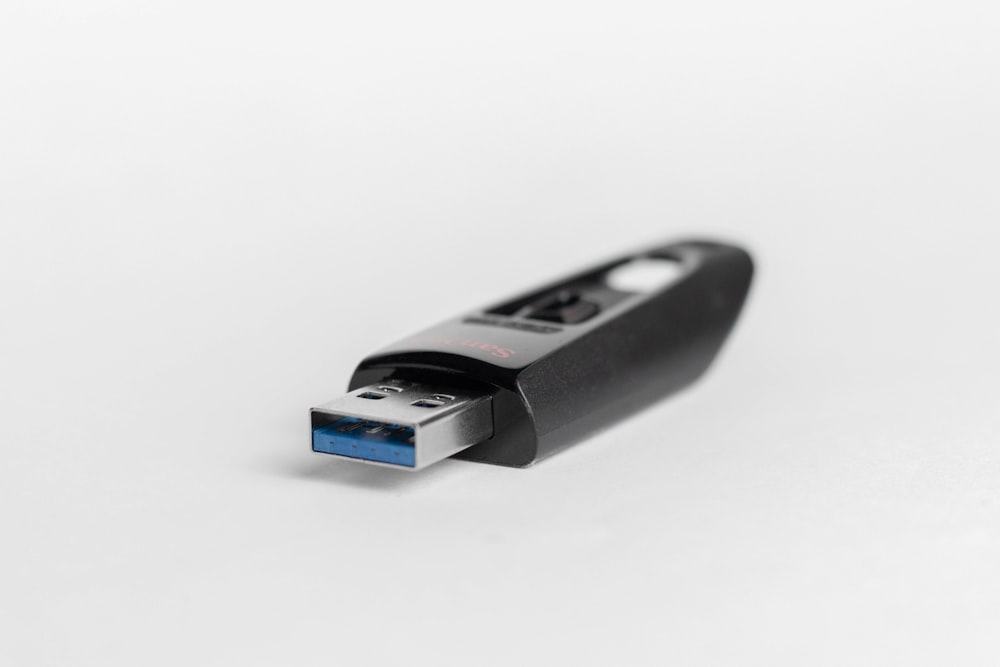
The most straightforward method of transferring photos from your Android device to your computer is by connecting the two devices using a USB cable. Here’s a step-by-step guide on how you can do this:
- Plug your Android device into your PC through a USB port.
- A notification will pop up on your device indicating that it’s connected via USB. Tap on this notification.
- Change the USB setting to File Transfer.
- On your PC, open the File Explorer and locate your Android device. It should appear as a connected device.
- Navigate to the DCIM folder on your Android device. This is where all your camera photos are stored.
- Open another window in the File Explorer, navigate to the folder where you want to store the photos, and simply drag and drop the files from your Android device to your computer.
Using the Windows Photos App
The Windows Photos app provides another simple approach to import photos from your Android device. Here’s how:
- Open the Windows Photos app on your computer.
- Click on the Import button and select From a connected device.
- Your Android device will appear on the list. Select it and allow the app to locate the photos.
- You can choose a different destination folder for your photos by clicking on Change destination.
- After selecting all the photos you want to import, click on Import.
Google Photos
If you have enabled the backup and sync feature in Google Photos on your Android device, you can access these photos on any device by signing in to your Google account. Here’s how to download photos from Google Photos:
- Visit the Google Photos website on your PC and sign in.
- Select the photos you want to download.
- Click on the three-dot icon in the upper right corner and select Download.
- Your photos will be downloaded as a ZIP file in your default Download folder.
Microsoft OneDrive
Microsoft OneDrive provides another convenient method for transferring photos if you have the app installed on your Android device. Follow these steps:
- Open the OneDrive app on your Android device and sign in with your Microsoft account.
- Tap on the Photos icon and enable Camera upload.
- After the photos have been synced, you can access them from the OneDrive folder on your computer.
Microsoft’s Phone Link
Microsoft’s Phone Link is a handy tool that allows you to view and retrieve photos from an Android device. However, this method is more suitable for downloading a few photos at a time as it doesn’t allow batch downloads. Here’s how to use it:
- Link your Android device with Windows.
- After linking, select the Photos option in the Phone Link app on your Windows PC.
- Right-click on a photo you want to download and select Save as.
In conclusion, there are various methods on how to transfer photos from Android to computer. Whether you choose to use a direct USB connection, the Windows Photos app, Google Photos, Microsoft OneDrive, or Microsoft’s Phone Link depends on your preference and the tools at your disposal.
Troubleshooting Common Issues
Looks like you’ve hit a snag while trying to move your precious memories from your Android to your computer. No worries, we’re in this together. Let’s walk through some common challenges and get you back on track.
1. “My computer just won’t recognize my Android device.”
Alright, first things first, let’s stay calm. Sometimes our digital friends need a little nudge to work together. Check if your phone is asking for permission to connect – a little prompt might be waiting for your approval. If not, let’s play detective with your USB cable and port. They can be the silent troublemakers. Try swapping your cable with another one, and plug into a different USB port. It’s like making new friends; sometimes you need to try a few to find the right match.
2. “Uh-oh, my transfer keeps getting interrupted.”
How frustrating, right? But here’s a quick fix: make sure your Android stays awake. Dive into its settings and adjust the sleep time. It’s like telling your phone, “Not nap time yet, buddy.” Also, a little energy boost helps – keep it plugged into power. Imagine it’s like sipping coffee while working; it keeps the energy up.
3. “This transfer is slower than a sleepy snail!”
Oh, we can’t have that. Let’s give it a little pep talk. First, unplug any unnecessary devices from your computer. They might be hogging the spotlight. Next, inspect your USB cable for signs of wear and tear. A fresh, new cable can make a world of difference, like a new pair of running shoes for your data!
4. “I’ve transferred… but now, where are my photos hiding?”
Ah, the classic hide and seek. Don’t fret; sometimes photos end up in the most unexpected corners. Take a peek in your computer’s ‘Pictures’ folder, or use the search bar like a digital detective. Type in ‘.jpg’ to uncover hidden photo treasures. Remember, no photo wants to stay lost.
5. “Wait, some photos are missing from my device!”
Hold up, they’ve got to be somewhere. Breathe and browse through all the albums in your Android’s gallery. Photos can be quite the wanderers, sometimes landing in different albums. It’s like they’ve gone on a little adventure inside your phone.
And there you have it! Remember, tech hiccups happen to all of us. It’s like riding a bike; sometimes you hit a bump, but with a bit of patience and persistence, you’ll be back to smooth sailing—or should I say, smooth transferring? Keep your chin up; you’re doing an amazing job!
Security and Privacy Considerations: Safeguarding Your Digital Memories
In our connected world, transferring photos from your Android to your computer isn’t just about moving files; it’s about ensuring your personal moments remain secure and private. Let’s explore how to protect your digital privacy during this process.
1. Understanding USB Security: When you connect your Android device to your computer using a USB cable, you’re creating a direct line between your personal data and another device. It’s important to use your own USB cable and computer, similar to how you’d use personal items that are not meant to be shared. This reduces the risk of unauthorized access or malware transfer. Treat your digital connection like your home’s front door—keep it secure and only open it when you know it’s safe.
2. Navigating Wi-Fi and Bluetooth Transfers: Wireless transfers can be convenient, but they come with their own set of risks. Public Wi-Fi networks can expose your data to unwelcome eyes, akin to having a conversation in a crowded room. Always use a secure, private Wi-Fi network when transferring your photos. With Bluetooth, ensure that your devices are paired in a secure environment and unpair them after use, much like you would lock your car after driving.
3. Choosing Cloud Services Wisely: Cloud storage services offer a seamless way to back up and transfer photos. However, not all services are created equal. Opt for reputable cloud services with strong security measures. Treat your cloud storage like a bank for your digital assets—choose one that offers the best security and privacy features. Regularly update your passwords and consider using two-factor authentication to add an extra layer of protection.
4. Managing App Permissions Effectively: Many apps will request access to your photos and files. It’s essential to review these permissions carefully. Only grant access to apps you trust and that require this information to function correctly. Think of app permissions as giving someone a key to your house; only hand it over if absolutely necessary and you trust the individual.
5. Leaving No Trace Behind: Be mindful of where your photos are stored, especially if you’re using a public or shared computer. Ensure you delete any transferred photos from the device after use, and clear the recycle bin or trash folder. This is akin to not leaving personal items behind in a hotel room—always check and double-check before you leave.
6. Post-Transfer Security Measures: After transferring your photos, ensure that you properly disconnect your Android device from the computer. This is similar to locking your door after guests leave—it ensures that no one can re-enter without your permission. Additionally, consider scanning your computer and device for malware regularly, as a precautionary measure similar to regular health check-ups.
7. Educating Yourself and Staying Informed: Stay updated on the latest security threats and best practices for digital security. Just as you would keep abreast of news that affects your physical safety, keeping informed about digital safety can protect you from potential threats.
In conclusion, while transferring photos from your Android to your computer may seem straightforward, it involves several important security and privacy considerations. By taking these steps, you not only protect your digital memories but also your overall digital wellbeing. Remember, in our digital age, being vigilant and informed is your best defense.
Organizing and Managing Photos After Transfer
So, you’ve transferred your photos from your Android to your computer – fantastic! Now, let’s chat about organizing and managing these precious memories. It’s like unpacking a suitcase after a vacation; everything needs its right place.
Firstly, create a system
Think of your computer as a large digital photo album. Start by creating main folders for different years or events. Within these, you can create subfolders for specific dates or themes. This method makes finding specific photos later much easier, like flipping to a chapter in your favorite book.
Next, let’s talk about naming
Instead of leaving photos with their default names, rename them to something meaningful. You could use the date and the event’s name, for example, “2024-03-20_BeachDay”. This way, you’re not just storing memories; you’re cataloging them, making each easy to find, like a well-organized recipe book.
Now, consider using photo management software
These tools can be a huge help. They let you tag your photos with keywords, rate them, and even detect faces. Imagine a librarian who knows exactly where every book (or in this case, photo) belongs. That’s what photo management software can do for your digital collection.
Backup, backup, backup
I can’t stress this enough. Once you’ve got your photos neatly organized, make sure you have them backed up in at least two different places, like an external hard drive and a cloud service. It’s like having a spare key; you hope you never need it, but you’ll be glad it’s there if you do.
Regularly review and clean up
Set aside some time every few months to go through your photos. Delete duplicates, blurry shots, or any that don’t spark joy. It’s like decluttering your home; it keeps your digital space fresh and welcoming.
Lastly, share and enjoy
Now that your photos are organized, share them with friends and family. Create digital albums or even print your favorites. After all, photos are windows to past experiences, meant to be enjoyed and shared, like stories around a campfire.
By following these steps, you’ll turn a mountain of digital memories into a neatly organized collection. Just remember, taking a little time now to organize and manage your photos can save you a lot of time later. Plus, it ensures that your precious moments are preserved, accessible, and ready to bring a smile to your face whenever you wish to revisit them.
Alternative Transfer Methods: Exploring Different Paths
Now that we’ve covered the standard ways to transfer your photos, let’s explore some alternative methods. It’s always good to have options, just like having different routes for your daily walk.
First off, there’s Bluetooth
Yes, it’s not just for headphones! Bluetooth can be a handy tool for transferring a few photos between devices without using cables. Just pair your Android phone with your computer, select the photos you want to send, and choose ‘Bluetooth’ as the sharing method. Think of it as passing notes in class – simple and direct, but best used for smaller files.
Next, consider Wi-Fi Direct
This is like Bluetooth’s big brother – faster and able to handle more data. If your Android and computer support it, Wi-Fi Direct is a fantastic way to transfer large batches of photos wirelessly. It’s like using a speedboat instead of a rowboat; you’ll get to your destination much quicker.
Have you thought about using an SD card?
If your phone has an expandable memory slot, this could be a convenient option. Just move your photos to the SD card, then use a card reader to transfer them to your computer. It’s like moving your belongings in a small suitcase – neat and efficient.
Email and messaging apps
Email and messaging apps can also come to the rescue, especially when you’re in a pinch. Just attach the photos you want to transfer and send them to yourself. This method is like sending a postcard; it’s more about the message (or in this case, the photo) than the speed of delivery.
Lastly, there are third-party apps
Plenty of apps out there can help with transferring photos. They might require a bit of setup, but once you get the hang of it, it’s smooth sailing. This is like finding a new cafe; it might take some searching, but once you find the perfect spot, it’s worth it.
Remember, there’s no one-size-fits-all solution here. Just like choosing the right outfit for the day, pick the transfer method that best suits your needs and situation. Each method has its charm and use cases, so feel free to experiment and find what works best for you. Happy transferring!
Conclusion: Simplifying Your Photo Transfer Experience
There you have it – a comprehensive guide to transferring photos from your Android device to your computer. Whether you opt for the straightforward USB method, the handy Windows Photos app, the cloud-based conveniences of Google Photos or Microsoft OneDrive, or the interactive Microsoft’s Phone Link, each approach has its perks and ease of use.
Remember, transferring photos doesn’t have to be a chore or a puzzle. With the steps outlined in this guide, it’s more like following a well-marked trail. And when you hit a snag, don’t stress. Our troubleshooting tips are here to guide you back on track, ensuring your photo transfer journey is smooth and hassle-free.
But it doesn’t stop at just transferring. Take a moment to consider the security and privacy of your digital memories. Implementing the safety tips we’ve discussed will help shield your personal moments from prying eyes and potential threats. It’s like tucking your treasures safely away in a digital vault.
Finally, organizing and managing your photos after transfer is the cherry on top. By creating a system that works for you, your digital memories will not only be secure but also easily accessible and enjoyable. It’s turning chaos into harmony, ensuring your precious moments are preserved and ready to be relived whenever you desire.
And if the standard paths don’t suit your journey, dive into the alternative methods we’ve explored. Like choosing the scenic route on a road trip, sometimes a different approach can offer new perspectives and solutions.
In essence, this guide is more than just instructions; it’s your companion in making the most of your digital memories. So take these tips, tailor them to your needs, and keep your digital life organized, secure, and joyful. Here’s to a seamless photo transferring experience – may your memories be safeguarded, cherished, and shared far and wide. Happy transferring!
FAQ: Transferring Pictures from Android to Computer
How do I transfer all my pictures from my Android to my computer?
- Connect your Android phone to your computer using a USB cable.
- Select ‘File Transfer’ mode on your phone.
- On your computer, open the device folder, then the ‘DCIM’ folder.
- Copy and paste the photos you want to transfer to your computer.
What is the fastest way to transfer pictures from a phone to a computer?
The fastest way is using a USB cable. Once connected, choose ‘File Transfer’ mode. Then, directly copy and paste your photos.
Why can’t I transfer photos from my Android phone to my PC?
Check a few things:
- Is your phone unlocked?
- Did you choose ‘File Transfer’ mode?
- Is your USB cable working properly?
- Try restarting both devices or using a different USB port.
How do I sync photos from my Android phone to my computer?
Use cloud services like Google Photos or Dropbox. Install the app on your phone and computer. The photos will sync automatically.
Why can’t I download pictures from my Android phone?
Possible reasons:
- There’s not enough storage on your phone.
- The connection between your phone and computer is poor.
- Your USB cable might be faulty.
How do I connect my Android phone to my computer?
Use a USB cable. Connect one end to your phone and the other to your computer’s USB port. Choose ‘File Transfer’ mode on your phone.
Why won’t my photos transfer to my computer?
Ensure your phone is unlocked and set to ‘File Transfer’ mode. Check your USB cable and ports. Restart your devices if needed.
How do I sync my Samsung photos to my computer?
Use Samsung’s ‘Smart Switch’ or ‘Samsung Flow’. Install these apps on both your Samsung phone and computer. Follow the setup steps to sync.
How to transfer photos from a Samsung phone to a computer wirelessly?
Use Samsung Flow or Microsoft’s ‘Your Phone’ app. Connect your phone and computer to the same Wi-Fi. Follow the app’s instructions for wireless transfer.
Featured Image Credit: Photo by Masakaze Kawakami; Unsplash – Thank you!


